 URDF Studio
#Your first robot
This walk-through uses the browser version and a public robot package, so you can try everything before opening your own work. It takes about two minutes. If you prefer VS Code, see Use it in VS Code.
#1. Get a robot package
Any ROS package with a .urdf or .xacro file works. If you don't have
one at hand, download Franka's description package:
git clone --depth 1 https://github.com/frankarobotics/franka_description
On a machine without Git, use Code → Download ZIP on the GitHub page and unzip it.
#2. Open it
- Go to urdf.deyuf.org in Chrome, Edge or another Chromium-based browser.
- Click Open folder and choose the
franka_descriptionfolder — the one that containspackage.xml. You can also drag the folder onto the page. - Your browser asks whether the page may view the folder. Allow it. The files stay on your computer.
Using Firefox or Safari? Click Pick files instead and choose the same folder. See Browser support.
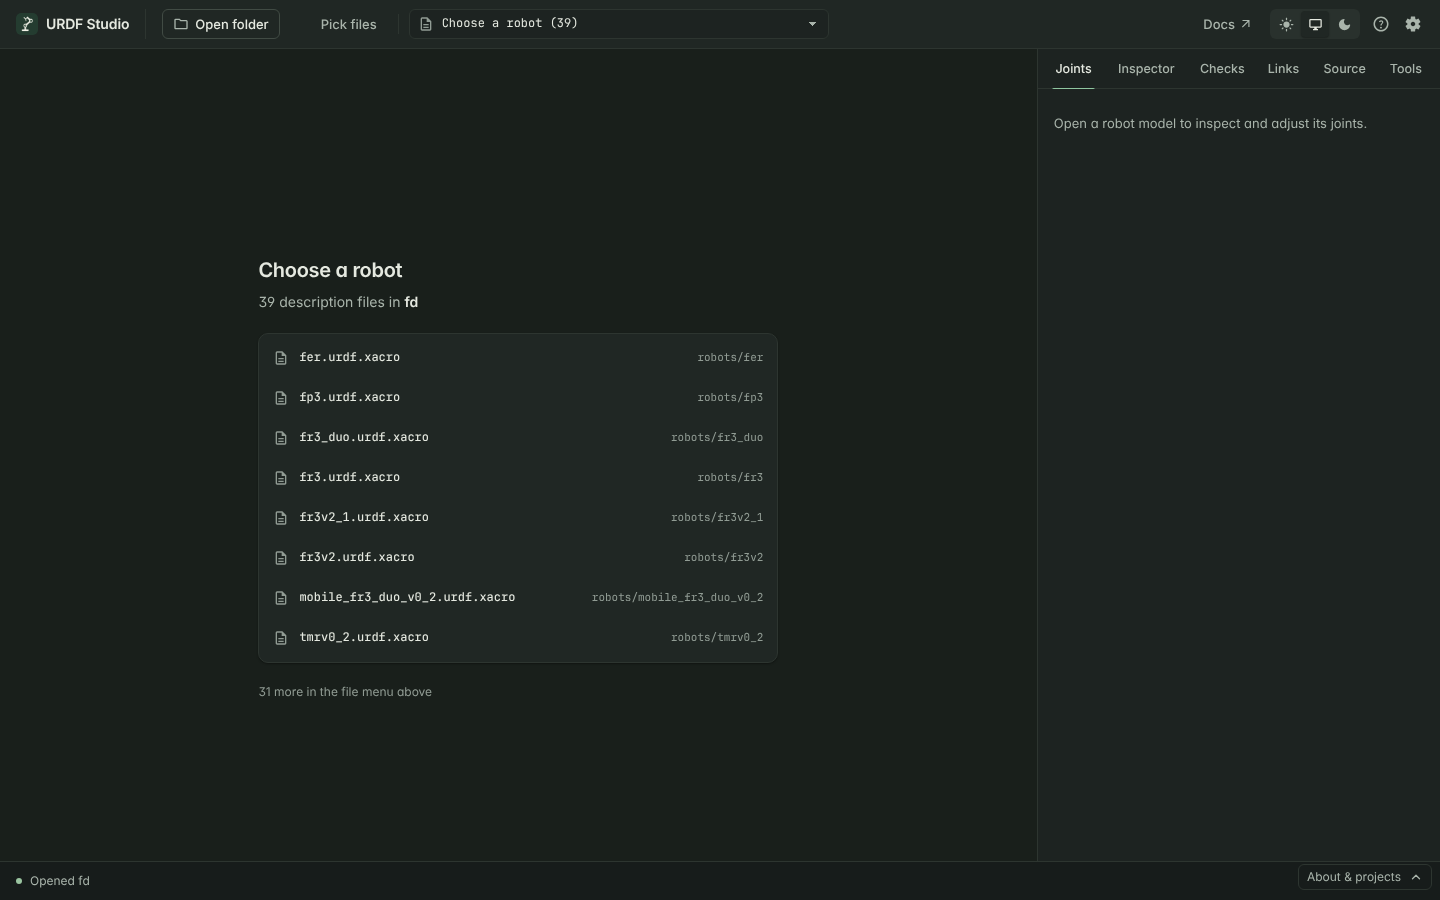
#3. Choose a robot
The page lists the robot files it found, complete robots first. Click
fr3.urdf.xacro.
The arm appears in a few seconds. The status bar at the bottom shows progress while meshes load.
#4. Look around
- Drag to orbit, right-drag to pan, scroll to zoom.
- Click Fit in the top-left to frame the whole robot again.
- Click any part of the arm. The Inspector tab shows its name, parent joint, mass and meshes.
#5. Move a joint
Open the Joints tab and drag the fr3_joint4 slider. The arm moves as
you drag. Type a value into the number field for an exact angle.
#6. Check the model
Open the Checks tab. It lists everything URDF Studio thinks could be
wrong with the model, grouped by kind. For this arm you will see a few
links without an <inertial> block — harmless sensor frames here, but the
kind of thing a simulator cares about. Click a problem to jump to the line
in the Source tab.
#Next steps
- Pose the robot — limits, mimic joints, saved poses.
- Find and fix problems — what each check means.
- Use it in the browser — reopening folders, browser support, privacy.